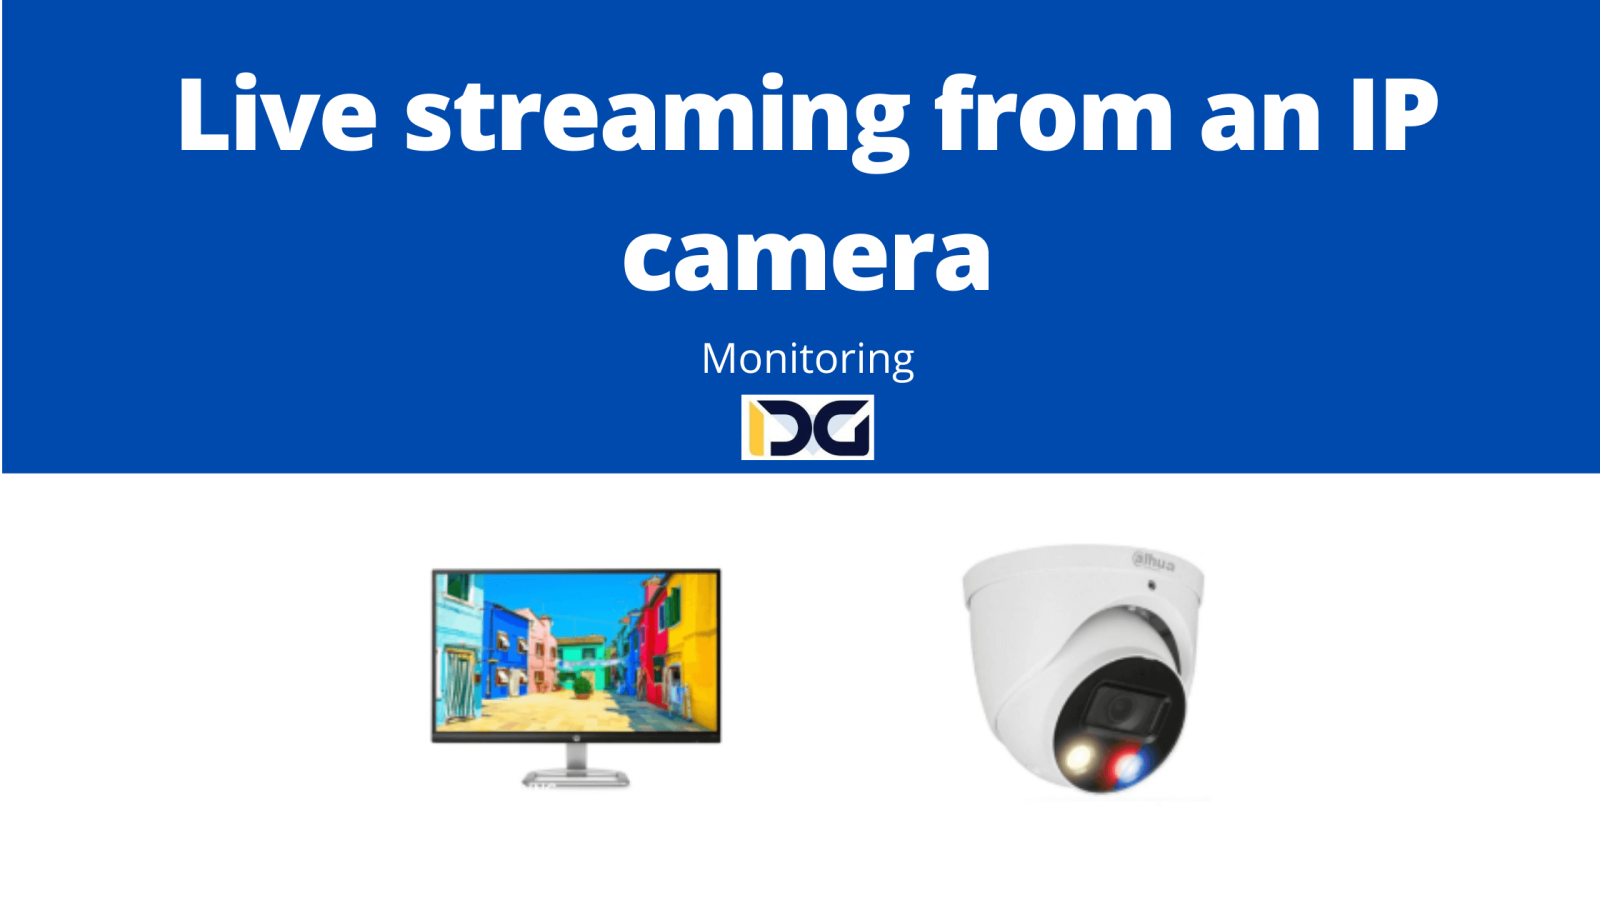
Live streaming from an IP camera

Live streaming from an IP camera

We live in a time when almost everyone owns a mobile device, allowing us to have global access to information at any time and place. Live streaming is becoming increasingly popular, and its capabilities are truly impressive.

Live streaming from an IP camera is particularly useful in situations where we want to have constant access to the visuals from a location where we cannot be physically present.

How to share the image from an IP camera online?

To be able to stream the live image from an IP camera, the easiest way is to create a P2P connection with the camera manufacturer’s cloud. Every camera manufacturer provides such a service.

To do this, on the configured and internet-connected IP camera, we launch the network menu from a web browser. This can be done on a computer that is on the same network as the camera. After entering the camera’s IP address, a camera login window appears. After logging into the camera, we navigate to the network tab and look for the P2P or other access platform option. We select the enable or connect option, and after a short moment, if the camera is already logged in, an online message will appear.

At this point, the camera is accessible on the internet.

We can view the camera feed using a dedicated mobile app or dedicated software on Microsoft or Apple computers.

Open this in UX Builder to add and edit content

Streaming live from an IP camera on a website

To display the image from an IP camera on a website, follow these steps:

Ensure that the IP camera is connected to the router and has correctly configured network settings.

Find the IP address of the camera and the login credentials (username and password). You can do this by referring to the camera’s user manual or checking the router’s network settings.

Open an HTML code editor (e.g., Notepad) and enter the following code:

<iframe src=”http://camera_IP_address:port_number/video.mjpg” width=”width” height=”height”></iframe>

Where:

camera_IP_address is the IP address of the IP camera, port_number is the port to which the camera is connected, width is the width of the window displaying the camera image, height is the height of the window displaying the camera image.

Save the HTML file and open it in a web browser. The camera image should be displayed in the iframe window.

If the camera image is not visible, double-check if the IP address and port are correct, and ensure that the camera is properly connected to the router. It may also require entering the login credentials. In that case, add the following line to the HTML code:

<iframe src=”http://username:password@camera_IP_address:port_number/video.mjpg” width=”width” height=”height”></iframe>

Where username and password are the login credentials for the IP camera.

Previewing cameras through mobile internet

To access the image from an IP camera through mobile internet using a smartphone, follow these steps:

Ensure that the IP camera is connected to the router and properly configured. It should have a unique IP address and an accessible network interface that allows connection via the local network.

Ensure that the router is configured to allow connection to the IP camera from the outside.

Open the configuration panel of your IP camera and check if it is configured to share the image remotely. In most cases, this option is available in the “Network” tab under P2P or Access Platform settings. It should display as online.

If it is not selected, enable the connect option.

Download a dedicated IP camera management app to your smartphone. Many camera manufacturers offer dedicated apps that allow viewing CCTV camera images on mobile devices. You can also use universal IP camera management apps such as IP Camera Viewer or Foscam.

Open the app and add a new camera by scanning the QR code on the camera housing. Then, enter the access password you set during the camera installation. Ensure that you enter the information correctly to establish a connection with the camera.

If the configuration is done correctly, you should be able to view the camera image on your smartphone through mobile internet. If you encounter connection issues, check the router settings and refer to the camera and app user manuals for troubleshooting guidance.

Streaming live from an IP camera is quite simple. To perform these actions, you need the appropriate hardware and software. Then, you can easily share the image from the IP camera on a website or through platforms like YouTube or mobile devices. Live streaming from an IP camera is a great way to conduct conversations, meetings, and sessions.


This entry was posted in Bez kategorii. Bookmark the permalink.

Live streaming from an IP camera

Live streaming from an IP camera

We live in a time when almost everyone owns a mobile device, allowing us to have global access to information at any time and place. Live streaming is becoming increasingly popular, and its capabilities are truly impressive.

Live streaming from an IP camera is particularly useful in situations where we want to have constant access to the visuals from a location where we cannot be physically present.

How to share the image from an IP camera online?

To be able to stream the live image from an IP camera, the easiest way is to create a P2P connection with the camera manufacturer’s cloud. Every camera manufacturer provides such a service.

To do this, on the configured and internet-connected IP camera, we launch the network menu from a web browser. This can be done on a computer that is on the same network as the camera. After entering the camera’s IP address, a camera login window appears. After logging into the camera, we navigate to the network tab and look for the P2P or other access platform option. We select the enable or connect option, and after a short moment, if the camera is already logged in, an online message will appear.

At this point, the camera is accessible on the internet.

We can view the camera feed using a dedicated mobile app or dedicated software on Microsoft or Apple computers.

Open this in UX Builder to add and edit content

Streaming live from an IP camera on a website

To display the image from an IP camera on a website, follow these steps:

Ensure that the IP camera is connected to the router and has correctly configured network settings.

Find the IP address of the camera and the login credentials (username and password). You can do this by referring to the camera’s user manual or checking the router’s network settings.

Open an HTML code editor (e.g., Notepad) and enter the following code:

<iframe src=”http://camera_IP_address:port_number/video.mjpg” width=”width” height=”height”></iframe>

Where:

camera_IP_address is the IP address of the IP camera, port_number is the port to which the camera is connected, width is the width of the window displaying the camera image, height is the height of the window displaying the camera image.

Save the HTML file and open it in a web browser. The camera image should be displayed in the iframe window.

If the camera image is not visible, double-check if the IP address and port are correct, and ensure that the camera is properly connected to the router. It may also require entering the login credentials. In that case, add the following line to the HTML code:

<iframe src=”http://username:password@camera_IP_address:port_number/video.mjpg” width=”width” height=”height”></iframe>

Where username and password are the login credentials for the IP camera.

Previewing cameras through mobile internet

To access the image from an IP camera through mobile internet using a smartphone, follow these steps:

Ensure that the IP camera is connected to the router and properly configured. It should have a unique IP address and an accessible network interface that allows connection via the local network.

Ensure that the router is configured to allow connection to the IP camera from the outside.

Open the configuration panel of your IP camera and check if it is configured to share the image remotely. In most cases, this option is available in the “Network” tab under P2P or Access Platform settings. It should display as online.

If it is not selected, enable the connect option.

Download a dedicated IP camera management app to your smartphone. Many camera manufacturers offer dedicated apps that allow viewing CCTV camera images on mobile devices. You can also use universal IP camera management apps such as IP Camera Viewer or Foscam.

Open the app and add a new camera by scanning the QR code on the camera housing. Then, enter the access password you set during the camera installation. Ensure that you enter the information correctly to establish a connection with the camera.

If the configuration is done correctly, you should be able to view the camera image on your smartphone through mobile internet. If you encounter connection issues, check the router settings and refer to the camera and app user manuals for troubleshooting guidance.

Streaming live from an IP camera is quite simple. To perform these actions, you need the appropriate hardware and software. Then, you can easily share the image from the IP camera on a website or through platforms like YouTube or mobile devices. Live streaming from an IP camera is a great way to conduct conversations, meetings, and sessions.


Live streaming from an IP camera

Live streaming from an IP camera

We live in a time when almost everyone owns a mobile device, allowing us to have global access to information at any time and place. Live streaming is becoming increasingly popular, and its capabilities are truly impressive.

Live streaming from an IP camera is particularly useful in situations where we want to have constant access to the visuals from a location where we cannot be physically present.

How to share the image from an IP camera online?

To be able to stream the live image from an IP camera, the easiest way is to create a P2P connection with the camera manufacturer’s cloud. Every camera manufacturer provides such a service.

To do this, on the configured and internet-connected IP camera, we launch the network menu from a web browser. This can be done on a computer that is on the same network as the camera. After entering the camera’s IP address, a camera login window appears. After logging into the camera, we navigate to the network tab and look for the P2P or other access platform option. We select the enable or connect option, and after a short moment, if the camera is already logged in, an online message will appear.

At this point, the camera is accessible on the internet.

We can view the camera feed using a dedicated mobile app or dedicated software on Microsoft or Apple computers.

Open this in UX Builder to add and edit content

Streaming live from an IP camera on a website

To display the image from an IP camera on a website, follow these steps:

Ensure that the IP camera is connected to the router and has correctly configured network settings.

Find the IP address of the camera and the login credentials (username and password). You can do this by referring to the camera’s user manual or checking the router’s network settings.

Open an HTML code editor (e.g., Notepad) and enter the following code:

<iframe src=”http://camera_IP_address:port_number/video.mjpg” width=”width” height=”height”></iframe>

Where:

camera_IP_address is the IP address of the IP camera, port_number is the port to which the camera is connected, width is the width of the window displaying the camera image, height is the height of the window displaying the camera image.

Save the HTML file and open it in a web browser. The camera image should be displayed in the iframe window.

If the camera image is not visible, double-check if the IP address and port are correct, and ensure that the camera is properly connected to the router. It may also require entering the login credentials. In that case, add the following line to the HTML code:

<iframe src=”http://username:password@camera_IP_address:port_number/video.mjpg” width=”width” height=”height”></iframe>

Where username and password are the login credentials for the IP camera.

Previewing cameras through mobile internet

To access the image from an IP camera through mobile internet using a smartphone, follow these steps:

Ensure that the IP camera is connected to the router and properly configured. It should have a unique IP address and an accessible network interface that allows connection via the local network.

Ensure that the router is configured to allow connection to the IP camera from the outside.

Open the configuration panel of your IP camera and check if it is configured to share the image remotely. In most cases, this option is available in the “Network” tab under P2P or Access Platform settings. It should display as online.

If it is not selected, enable the connect option.

Download a dedicated IP camera management app to your smartphone. Many camera manufacturers offer dedicated apps that allow viewing CCTV camera images on mobile devices. You can also use universal IP camera management apps such as IP Camera Viewer or Foscam.

Open the app and add a new camera by scanning the QR code on the camera housing. Then, enter the access password you set during the camera installation. Ensure that you enter the information correctly to establish a connection with the camera.

If the configuration is done correctly, you should be able to view the camera image on your smartphone through mobile internet. If you encounter connection issues, check the router settings and refer to the camera and app user manuals for troubleshooting guidance.

Streaming live from an IP camera is quite simple. To perform these actions, you need the appropriate hardware and software. Then, you can easily share the image from the IP camera on a website or through platforms like YouTube or mobile devices. Live streaming from an IP camera is a great way to conduct conversations, meetings, and sessions.


Dodaj komentarz

Twój adres e-mail nie zostanie opublikowany. Wymagane pola są oznaczone *